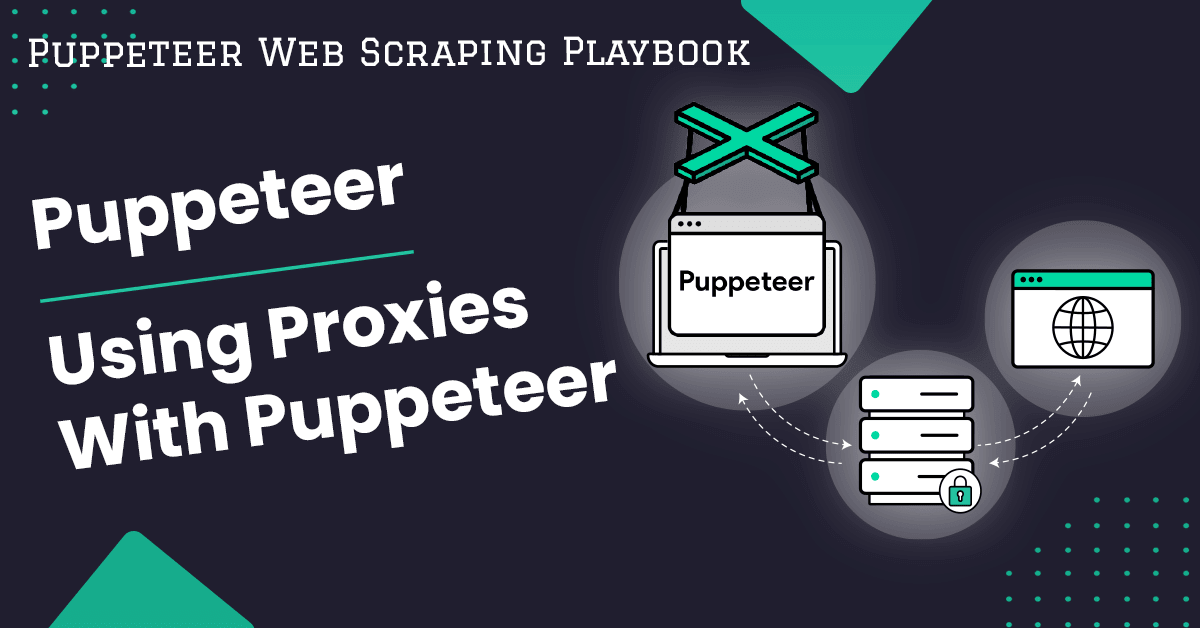
Using Proxies With NodeJS Puppeteer
Puppeteer is a powerful browser automation library maintained by google that allows you to build bots and scrapers that can load and interact with web pages in the browser like a real user. As a result, Puppeteer is very popular amongst the NodeJS web scraping community.
In this guide for The NodeJS Puppeteer Web Scraping Playbook, we will look at how to integrate proxies into our NodeJS Puppeteer based web scraper.
There are number of different types of proxies which you need to integrate differently with Puppeteer, so we will walk through how to integrate each type:
Need help scraping the web?
Then check out ScrapeOps, the complete toolkit for web scraping.
Using Proxies With Puppeteer
The first and simplest type of proxy to integrate with NodeJS Puppeteer are simple HTTP proxies (in the form of an IP address) that don't require authentication. For example:
"11.456.448.110:8080"
To integrate this proxy IP into a Puppeteer scraper simply set the --proxy-server argument to proxyUrl and add it to args array inside puppeteer launchOptions object. Then simply launch the browser by calling browser.launch method providing launchOptions object you just defined.
const puppeteer = require('puppeteer');

const proxyUrl = '11.456.448.110:8080';

const launchOptions = {
    args: [
        `--proxy-server=${proxyUrl}`
    ]
};

(async () => {
    const browser = await puppeteer.launch(launchOptions);
    const page = await browser.newPage();

    await page.goto('https://httpbin.org/ip');

    const pageContent = await page.evaluate(() => document.body.innerText);
    console.log(pageContent);
})();
Now when we run the script we can see that Puppeteer is using the defined proxy IP:
{
    "origin": "11.456.448.110:8080"
}
Using Authenticated Proxies With Puppeteer
It is very common for commercial proxy providers to sell access to their proxy pools by giving you single proxy endpoint that you send your requests to and authenticate your account using a username and password.
Using proxies that require username and password authentication isn't that much different from how we just used proxies without authentication. First launch a browser like before by providing proxyUrl in the args param of launchOptions. Then simply call page.authenticate method with username and password before making a request to the webpage with page.goto.
const puppeteer = require('puppeteer');

const proxyUrl = '201.88.548.330:8080';
const username = 'PROXY_USERNAME';
const password = 'PROXY_PASSWORD';

const launchOptions = {
        args: [ `--proxy-server=${proxyUrl}` ]
};

(async () => {
    const browser = await puppeteer.launch(launchOptions);

    const page = await browser.newPage();
    await page.authenticate({ username, password });
    await page.goto('https://httpbin.org/ip');

    const pageContent = await page.evaluate(() => document.body.innerText);
    console.log(pageContent);
})();
Now when we run the script we can see that Puppeteer is using a proxy IP:
{
    "origin": "201.88.548.330:8080"
}
Integrating Proxy APIs
Over the last few years there has been a huge surge in proxy providers that offer smart proxy solutions that handle all the proxy rotation, header selection, ban detection and retries on their end. These smart APIs typically provide their proxy services in a API endpoint format.
However, these proxy API endpoints don't integrate well with headless browsers when the website is using relative links as Puppeteer will try to attach the relative URL onto the proxy API endpoint not the websites root URL. Resulting, in some pages not loading correctly.
As a result, when integrating your Puppeteer scrapers it is recommended that you use their proxy port integration over the API endpoint integration when they provide them (not all do have a proxy port integration).
For example, in the case of the ScrapeOps Proxy Aggregator we offer a proxy port integration for situations like this.
The proxy port integration is a light front-end for the API and has all the same functionality and performance as sending requests to the API endpoint but allow you to integrate our proxy aggregator as you would with any normal proxy.
The following is an example of how to integrate the ScrapeOps Proxy Aggregator into your Puppeteer scraper:
const puppeteer = require('puppeteer');

// Replace with your residential proxy provider's details
const proxyUrl = 'http://residential-proxy.scrapeops.io:8181';
const proxyUsername = 'scrapeops';
const proxyPassword = 'YOUR_API_KEY';


(async () => {
    const browser = await puppeteer.launch({
        args: [`--proxy-server=${proxyUrl}`] // Set proxy server
    });

    const page = await browser.newPage();
    await page.authenticate({
        username: proxyUsername,
        password: proxyPassword
    });

    await page.goto('https://httpbin.org/ip');

    const pageContent = await page.evaluate(() => document.body.innerText);
    console.log(pageContent);

    await browser.close();
})();
Here we set username to 'scrapesops' and password to SCRAPEOPS_API_KEY while calling page.authenticate method.
Note: So that we can properly direct your requests through the API, your code must be configured to ignore SSL certificate verification errors ignoreHTTPSErrors: true.
Full integration docs for NodeJS Puppeteer and the ScrapeOps Proxy Aggregator can be found here.
To use the ScrapeOps Proxy Aggregator, you first need an API key which you can get by signing up for a free account here which gives you 1,000 free API credits.
More Web Scraping Tutorials
So that's how you can use both authenticated and unauthenticated proxies with Puppeteer to scrape websites without getting blocked.
If you would like to learn more about Web Scraping with Puppeteer, then be sure to check out The Puppeteer Web Scraping Playbook.
Or check out one of our more in-depth guides: