
How to Find Elements by CSS Selectors with Puppeteer
One of the key tasks when using Puppeteer is to locate elements so that you can then manipulate or extract values from them. One extremely useful way you can do this is by using CSS Selectors.
In this comprehensive guide, we'll delve into the art of finding elements using CSS selectors with Puppeteer.
- Using CSS Selectors in Puppeteer
- CSS Selectors Demystified
- Finding CSS Selectors
- Waiting for Page Elements
- Real-World Examples
- Common Challenges, Pitfalls and Best Practices
- Advanced Techniques
- Conclusion
- More Web Scraping Guides
Need help scraping the web?
Then check out ScrapeOps, the complete toolkit for web scraping.
Using CSS Selectors in Puppeteer
There are a couple of ways that you can select elements using CSS selectors in Puppeteer. The table below provides a brief overview of them.
| Method | Description | Docs |
|---|---|---|
$ | This method will execute document.querySelector within the page. If no element is found it will return null, otherwise, it returns an Element Handle | Docs |
$$ | This method works the same as the previous one except it executes document.querySelectorAll which will return [] if no elements are found. Otherwise it returns an array of Element Handles. | Docs |
$eval | This method will run querySelector and then pass the result to the provided function | |
waitForSelector | This method will wait until an element matching the selector appears on the page then return it. By default this will time out after 30s. It will return the element once it is loaded. | Docs |
The example below shows a potential use case for all of the mentioned methods.
const puppeteer = require("puppeteer");

(async () => {
  const browser = await puppeteer.launch();
  const page = await browser.newPage();

  // Navigate to page
  await page.goto("https://example.com");

  const header = await page.$("h1");
  const headerText = await page.evaluate((h1) => h1.textContent, header);
  console.log(headerText); // Example Domain

  // querySelector for paragraph elements
  const paragraphs = await page.$$("p");
  console.log(paragraphs.length); // 2

  // Get the "href" attribute of the first link on the page
  const href = await page.$eval("a", (el) => el.href);
  console.log(href); // https://www.iana.org/domains/example

  try {
    // Timeout after 5 seconds because the page does not
    // have an image element
    const image = await page.waitForSelector("img", { timeout: 5000 });
  } catch (error) {
    console.log("No image found");
  }

  await browser.close();
})();
- The above code visits example.com and selects the first
h1element using the$method. - Then it uses the
evaluatemethod to access HTML/JavaScript properties of the element. - In the function passed to
evaluatewe grab the text content from the element. - Then we use the
$$method to grab allpelements on the page. This returns an array of elements which we print the length of. - After that, we use the
$evalmethod to select and evaluate the first link on the page using theaselector. - Finally, we wait for an
imgelement to appear on the page and set a timeout for 5 seconds. We have to wrap this code in a try/catch block because the timeout will raise an exception.
Note, these are not the only methods using CSS Selectors in Puppeteer. They are just the most direct interaction. Methods like type, click, focus, tap and more also allow CSS selectors to be passed.
CSS Selectors Demystified
While Puppeteer primarily uses CSS selectors, XPath selectors are an alternative. However, CSS selectors are often more straightforward and widely adopted. For this reason, it's crucial to understand what a CSS Selector actually is so that you can craft your own query selector statements to scrape the web.
CSS Selectors vs XPath
CSS Selectors are patterns used to select and style HTML elements. They are the same queries used when you are creating a stylesheet and defining what elements rules should apply to.
XPath is an XML language for navigating XML documents (like the HTML element structure). XPath can be more flexible but for the same reason it usually is more complex.
Here's a quick comparison:
const element = await page.$("#example-element");
const elementByXpath = await page.$x('//*[@id="example-element"]');
In the above example we are selecting an element with the id "example-element" as you can see the syntax has some similarities but the CSS selector is a lot easier to understand.
Commonly Used CSS Selectors
Here is a list of commonly used CSS selectors, note that they can be combined with others to create more specific selectors.
| Type | Example | Description |
|---|---|---|
| Class | .className | Any element with the given class |
| Multi Class | .classOne.classTwo | Any element with all given classes |
| Class Descendant | .classParent .classChild | Any element with classChild class that is a descendant of an element with the classParent class. |
| ID | #element-id | Any element with an ID equal to the given value. |
| Element | div | All <div> elements |
| Attribute | [target="_blank"] | All elements with an attribute matching the given value. |
For more examples and selectors, see the W3Schools Reference and MDN Documentation
Finding CSS Selectors
In order to use the CSS selectors in your Puppeteer code you have to find or create them first. Both can be achieved through the use of Inspect Element / Developer tools. This process is dependent on browser. The following example is using Firefox but it is largely the same for Google Chrome as well.
- Go to a web page of your choice
- Right click the element you wish to create a selector for
- Click "Inspect." This should open the developer tools with the element you right clicked selected.
- Right click the selected element
- Hover over "Copy"
- Click "Copy selector" / "CSS Selector"

Get a Single Element with $ Method
The following example shows you how to get a single element by CSS selector using the $ method. We are using an attribute CSS selector to match the href attribute.
const puppeteer = require("puppeteer");

(async () => {
  const browser = await puppeteer.launch();
  const page = await browser.newPage();

  // Navigate to page
  await page.goto("https://scrapeops.io/");

  // Get the text of the link
  const registerLink = await page.$("a[href='/app/register/main']");
  const text = await registerLink.evaluate((node) => node.innerText);
  console.log(text);

  await browser.close();
})();
Get All Elements with $$ Method
The following example shows you how to get all elements that match the button element CSS selector. Then we can iterate the array and print the text of all buttons on the page.
const puppeteer = require("puppeteer");

(async () => {
  const browser = await puppeteer.launch();
  const page = await browser.newPage();

  // Navigate to page
  await page.goto("https://scrapeops.io/");

  // Get all buttons
  const buttons = await page.$$("button");
  for (let button of buttons) {
    const text = await button.evaluate((node) => node.innerText);
    console.log(text);
  }

  await browser.close();
})();
- We load the ScrapeOps website first.
- Then we use the
$$method which will return an array of elements matching thebuttonselector. This will be any element made with the<button></button>tags. - Afterwards we iterate through the array of buttons and get the text using the
evaluatemethod on the element. - Finally we print the text. Note if we used the
$method instead, we would have only gotten the first button on the page.
Using $eval
In the following example we use the $eval method to find the announcement banner by using a class name css selector. Afterwards we can immediately evaluate and return the banner text.
const puppeteer = require("puppeteer");

(async () => {
  const browser = await puppeteer.launch();
  const page = await browser.newPage();

  // Navigate to page
  await page.goto("https://scrapeops.io/");

  // Get announcement content
  const announcement = await page.$eval(
    ".announcementBarContent_dpRF",
    (banner) => banner.innerText
  );
  console.log(announcement);

  await browser.close();
})();
In the above code, we navigate to the Scrape Ops website and extract the inner text of an HTML element with the .announcementBarContent_dpRF CSS class.
Then we log this content to the console, and finally, closes the browser to release resources.
Waiting for Page Elements
Waiting for page elements to be present in the DOM is vital for reliable web automation. This practice prevents premature interactions and ensures scripts adapt to dynamic content loading.
To solve this problem, Puppeteer provides to primary wait functions.
page.waitFor
Waits for a specified time or until a provided function returns truthy. For example:
await page.waitFor(3000); // Wait for 3 seconds
await page.waitFor(() => document.querySelector(".dynamic-element"));
We can use the waitFor method and pass a number to just wait a specific amount of time. Or we can pass a function to the waitFor method and the code will continue to check this function for a truthy value.
In this example, we pass a call to querySelector so effectively we are waiting until the querySelector method returns something.
page.waitForSelector
Similar to the above waitFor using querySelector the waitForSelector method will wait until the given CSS selector is found on the page or the wait times out. For example:
await page.waitForSelector(".load-complete");
await page.waitForSelector(".slow-missing-element", { timeout: 5000 });
The above example wil wait for the element with the load-complete class to show on the page. By default it will wait for 30 seconds. Then it will look for an element with the slow-missing-element class but this time only waiting for 5 seconds.
Handling Dynamic Content and Reliable Selection
When diving into the realm of dynamic content in web scraping, two key strategies stand out: using unique CSS selectors and mastering Puppeteer's waiting functions.
Unique CSS Selectors for Pinpoint Accuracy
When aiming for precise identification of elements on a webpage, unique CSS selectors are your best friends. These can be distinctive class names, IDs, or other attributes linked to the elements you're after.
By crafting selectors that are specific to the target elements, you build resilience against potential changes in the page structure.
Here's a quick example:
// Example of using a unique selector
const uniqueElement = await page.$("#hero-subtext > .dashed-underline-brand");
The above select is unique and specific because we are targeting underlined text in the subtext of the hero section.
For this reason our query makes use of multiple selectors to ensure that the element has the underlined class and is a child of the hero subtext element.
Strategic Waiting with Puppeteer Functions
To tackle the dynamic nature of web pages, Puppeteer provides two waiting functions that work hand-in-hand:
page.waitForandpage.waitForSelector
1. page.waitFor for General Waiting:
Use this function for introducing a general pause in your script. It's handy for allowing elements to load or conditions to be met before moving forward.
// Example of using page.waitFor for a general pause
await page.waitFor(2000); // Pauses for 2 seconds
2. page.waitForSelector for Specific Element Waiting:
This function is more specific, waiting for a particular element identified by a selector to be present in the DOM before proceeding.
// Example of using page.waitForSelector for waiting on a specific element
await page.waitForSelector(".dynamicElement");
By combining these waiting functions, you can gracefully handle scenarios where elements are added asynchronously, ensuring your script progresses only when essential elements are fully loaded and ready for action.
Real-World Examples
In this section, we'll delve into real-world examples to showcase the practical use of CSS selectors in Puppeteer. These examples will cover various scenarios, including form submissions, data extraction, and navigation, providing insights into how CSS selectors play a pivotal role in these web automation tasks.
Form Submissions
One common scenario in browser automation and web scraping is the need to login to a website or otherwise submit forms. We can select elements with CSS Selectors to accomplish this goal.
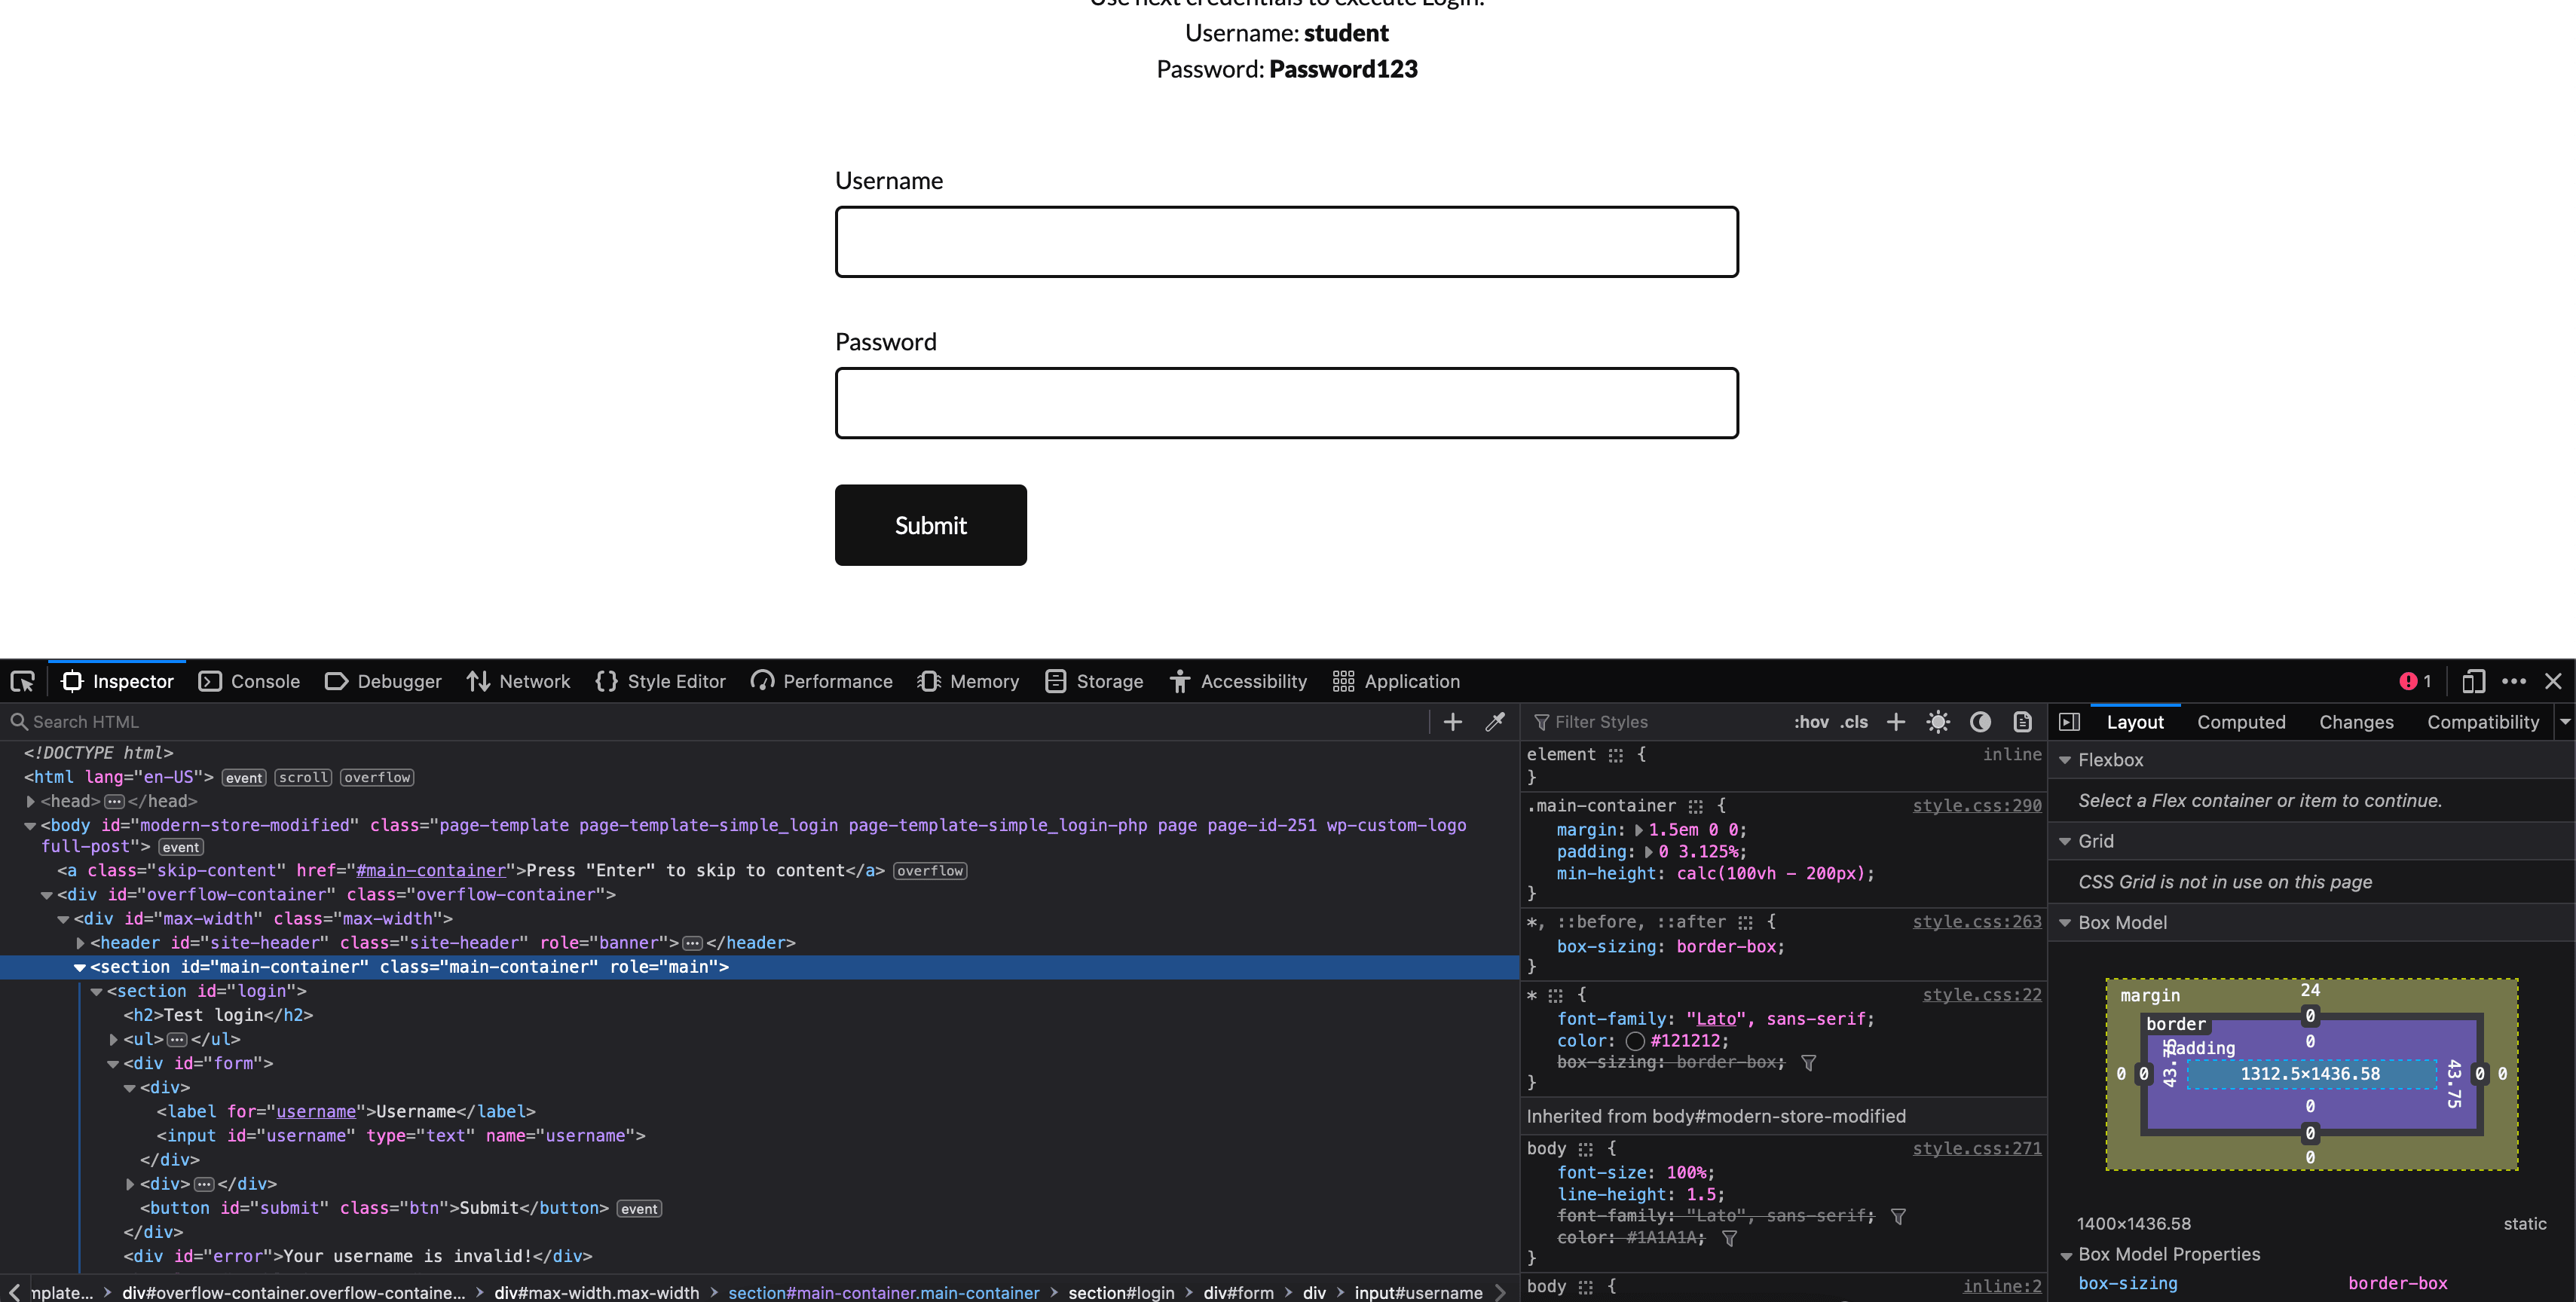
In the following example we will be logging into the practicetestautomation.com.
See the page we are working with below:
const puppeteer = require("puppeteer");

(async () => {
  const browser = await puppeteer.launch();
  const page = await browser.newPage();

  // Navigate to page
  await page.goto("https://practicetestautomation.com/practice-test-login/");

  // Type in the <input name="username"> element with the text "student"
  await page.type("#form [name='username']", "student");
  // Type in the <input name="password"> element with the text "Password123"
  await page.type("#form [name='password']", "Password123");
  // Click on the <button id="submit"> element
  await page.click("#form [id='submit']");

  // Wait for the selector gathered from inspect element to load
  const btn = await page.waitForSelector(".wp-block-button__link");
  // Get the text of the button
  const btnText = await page.evaluate((btn) => btn.textContent, btn);
  // Confirm button text is equal to "Log out"
  if (btnText === "Log out") {
    console.log("Login successful");
  }

  await browser.close();
})();
- After launching a headless browser and navigating to the specified URL, it fills in the username and password fields, clicks the submit button, and waits for an element indicative of a successful login to load.
- The script then checks if the text content of this element is "Log out" and logs a success message to the console if the condition is met.
- Finally, the headless browser is closed, demonstrating an automated and dynamic interaction with a web application's login functionality.
Data Extraction
Extracting data from a web page is another primary function of web scraping. We can use CSS selectors to get data from a web page. In the following example we will get a list of countries and info from scrapethissite.com.
See the data we're trying to scrape below:

const puppeteer = require("puppeteer");

(async () => {
  const browser = await puppeteer.launch();
  const page = await browser.newPage();

  // Navigate to page
  await page.goto("https://www.scrapethissite.com/pages/simple/");

  // Use $$eval to get all elements with the class "country"
  const data = await page.$$eval(".country", (elements) =>
    // We know the .country element contains further elements with the classes
    // .country-name, .country-capital and .country-population containing the data
    elements.map((country) => {
      // Use querySelector on the initial element to get the data
      // First the name, then the capital and lastly the population
      const name = country.querySelector(".country-name").innerText;
      const capital = country.querySelector(".country-capital").innerText;
      const population = country.querySelector(".country-population").innerText;

      // Finally return an object with the data
      return { name, capital, population };
    })
  );

  // Output the data
  console.log(data);

  await browser.close();
})();
- After launching a headless browser and navigating to the specified URL, it employs
page.$$evalto extract data from multiple elements with the classcountry. - The extracted data includes the country's name, capital, and population, which are nested within further elements with classes
country-name,country-capital,andcountry-population. - The script maps through the elements, utilizes querySelector to retrieve the relevant information, and returns an array of objects representing each country's data.
- The final extracted data is then logged to the console, showcasing a structured approach to scraping specific content from a webpage.
- The headless browser is closed after the data is obtained.
Navigation
As a part of data extraction a vital task is navigation, including pagination, to find the data. In the following example we start from the sandbox page on scrapethissite.com and navigate to a page with data and pagination.
From there we can scrape an HTML table and utilize the pagination. The key to navigation in puppeteer is correctly waiting for pages to load before trying to work with them.
In this example, we use Promise.all to wait for a click and navigation to complete together.
The screenshot below shows some of the data and classes we are working with:

const puppeteer = require("puppeteer");

(async () => {
  const browser = await puppeteer.launch({
    headless: false,
    defaultViewport: { width: 1280, height: 720 },
  });
  const page = await browser.newPage();

  // Navigate to page
  await page.goto("https://www.scrapethissite.com/pages/");

  // Click on the link that directs to the forms page
  // and wait for the navigation to finish
  await Promise.all([
    page.click("a[href='/pages/forms/']"),
    page.waitForNavigation({ waitUntil: "networkidle2" }),
  ]);

  // Create array to store data objects
  const data = [];

  // Collect data as long as there is a "Next" page button
  while (await page.$(".pagination a[aria-label='Next']")) {
    // Get all team rows
    const teams = await page.$$(".team");

    // Loop through all the teams
    for (const team of teams) {
      // Get the team name
      const name = await team.$eval(".name", (name) => name.innerText);
      // Get the team rank
      const wins = await team.$eval(".wins", (wins) => wins.innerText);
      // Get the team score
      const losses = await team.$eval(".losses", (losses) => losses.innerText);

      // Push the data to the array
      data.push({ name, wins, losses });
    }

    // Click on the "Next" page button and wait for the navigation to finish
    await Promise.all([
      page.click(".pagination a[aria-label='Next']"),
      page.waitForNavigation({ waitUntil: "networkidle2" }),
    ]);
  }

  // Output the data
  console.log(data);

  await browser.close();
})();
- For this example, the browser is not headless so you can see the navigation.
- After launching a non-headless browser with a specified viewport size, it navigates to the initial page and clicks on a link directing to the forms page, waiting for the navigation to complete.
- The script then iterates through multiple pages, collecting data about each sports team, including their name, wins, and losses.
- The extracted data is stored in an array, and the script continues to click the "Next" button to move to subsequent pages until there is no longer a "Next" button available.
- Finally, the collected data is logged to the console, providing a comprehensive overview of the teams' performance.
- The browser is closed after the scraping process.
Common Challenges, Pitfalls and Best Practices
Web scraping and automation with Puppeteer may encounter challenges. Here are common issues and best practices for overcoming them:
Dynamic Content
Sites with dynamic content may require additional wait strategies to ensure elements are fully loaded before interaction.
Best practice:
Use the page.waitForSelector or page.waitForNavigation methods to wait for specific elements or navigation events.
This ensures that the elements you want to interact with are present on the page.
Unpredictable Selectors
Some websites may have unpredictable or changing CSS class names, making it challenging to create stable selectors.
Best practice:
Whenever possible, use unique and stable attributes like id for selecting elements. If class names are unreliable, consider using more robust selectors based on the element's hierarchy or XPath.
Dynamic Layout Changes
Websites often undergo updates, redesigns, or improvements to enhance user experience. These changes can include modifications to the HTML structure, CSS classes, or the addition/removal of elements.
CSS selectors that were initially effective may become outdated, leading to scraping scripts failing to locate and interact with the intended elements.
Best practice:
Periodically inspect the HTML structure of the website you are scraping and update your CSS selectors accordingly. This is particularly important if the website undergoes frequent changes in its layout or class names.
Tips for Troubleshooting
Troubleshooting web scraping issues with Puppeteer can sometimes be challenging, but here are some tips to help you identify and resolve common problems:
Inspect the Page Manually
Use the browser's developer tools to manually inspect the page. Verify that the elements you are trying to select and interact with are present in the HTML. This can help you identify changes in the structure or class names.
Review Console Logs
Check the console logs for any error messages or warnings that might provide insights into what went wrong. You can use page.on('console') to log messages from the page to the Node.js console.
Headless Mode for Debugging
Run Puppeteer in non-headless mode ({ headless: false }) during development to visually inspect the browser and see how the scraping script interacts with the page.
Handle Errors
Implement try-catch blocks around critical sections of your code. This helps you catch and log errors without crashing the entire script. You can then analyze the error messages to understand the root cause.
Verify Selectors
Double-check your CSS selectors or XPath expressions. If a selector is no longer valid due to a layout change, you might need to update it accordingly.
Advanced Techniques
Moving beyond basic interactions, Puppeteer supports advanced techniques for handling complex scenarios with CSS selectors
Handling iframes
When dealing with iframes (inline frames) on a webpage using Puppeteer, it's required to specify the target frame before interacting with elements inside it.
Puppeteer allows you to access elements within iframes by selecting the appropriate frame.
The provided code demonstrates this process:
const frame = page.frames().find((frame) => frame.name() === "iframeName");
const elementInsideIframe = await frame.$(".element-inside-iframe");
- The script first retrieves a reference to the desired iframe using
page.frames().find(), where the condition checks if the frame's name matches "iframeName." - Once the appropriate iframe is identified, subsequent interactions are scoped within that frame.
- In this case, it locates an element with the class
.element-inside-iframeusingframe.$(). - This method ensures that Puppeteer operates within the context of the specified iframe, allowing for the seamless extraction or manipulation of elements contained within it.
Shadow DOM
When confronted with elements encapsulated within the Shadow DOM, Puppeteer equips developers with the capability to interact with this encapsulated content.
const shadowRoot = await page.$eval(
  "element-with-shadow-dom",
  (el) => el.shadowRoot
);
const shadowDomElement = await shadowRoot.$(".element-inside-shadow-dom");
- The given code exemplifies this by first accessing the Shadow DOM root of an element with the class
.element-with-shadow-domusingpage.$eval(). - The Shadow DOM root is then stored in the variable
shadowRoot. - Subsequently, the script navigates within the Shadow DOM using
shadowRoot.$(".element-inside-shadow-dom")to locate an element with the class.element-inside-shadow-dom - This two-step process demonstrates Puppeteer's ability to traverse through the layers of Shadow DOM encapsulation, allowing developers to interact with and manipulate elements nestled within these isolated scopes.
- This proves invaluable when dealing with web components or frameworks that utilize Shadow DOM to encapsulate and protect their internal structures from external styles and scripts.
Conclusion
The flexibility of CSS selectors allows developers to navigate the dynamic landscape of the web and locate elements even on websites with complex structures or frequent layout changes.
Throughout this tutorial, we explored the nuances of working with dynamic content, tackled challenges posed by unpredictable selectors, and delved into troubleshooting strategies to ensure the resilience of your scraping scripts.
For more information, visit the official documentation of Puppeteer
More Web Scraping Guides
If you would like to learn more about Web Scraping with Puppeteer, then be sure to check out The Puppeteer Web Scraping Playbook.
Or check out one of our more in-depth guides: