Puppeteer Guide: Downloading A File
In the realm of automation and web scraping, various tasks require the automated download of files from web pages. These tasks may involve downloading email attachments, gathering images and videos for training machine learning models, or providing support for automated testing.
This article will delve into various methods for downloading files from websites using Puppeteer, a powerful NodeJS-based automation tool known for its capabilities in web scraping and browser automation. We will also see how to monitor our downloads by using Puppeteer's "download" events.
- TLDR - How to Download A File Using Puppeteer
- Why Automated File Downloads Matter?
- Understanding File Downloads
- Downloading a File
- Setting a Custom Download Behaviour
- Monitoring Download Progress
- Verifying File Download
- Downloading Multiple Files
- Downloading All the Images From a Web Page
- Downloading Images from Google Images
- Handling Different File Types
- Handling File Download Dialogs
- Handling Authentication for Secure Downloads
- Error Handling for Download Failures
- Conclusion
- More Puppeteer Web Scraping Guides
Need help scraping the web?
Then check out ScrapeOps, the complete toolkit for web scraping.
TLDR - How to Download A File Using Puppeteer
Before delving into the intricate details, let's quickly go through an example to get you started with file downloads. Below is a Puppeteer script for downloading this image from Unsplash.com:
const puppeteer = require('puppeteer');

(async () => {
  const browser = await puppeteer.launch({ headless: false });

  const page = await browser.newPage();

  const url = "https://unsplash.com/photos/a-computer-generated-image-of-an-abstract-purple-background-u9H3O_3_tuQ";
  await page.goto(url);

  const downloadButtonSelector = "a.slPFO";
  await page.click(downloadButtonSelector);

  await page.waitForTimeout(5000);
  await browser.close();
})();
In the script above:
-
We first navigated to the URL where our image download button is located using
page.goto(url). -
Next, we clicked on the download button with the CSS selector "a.slPFO", triggering the download initiation.
-
Subsequently, we waited for 5 seconds, anticipating that the file would be downloaded within that timeframe using
waitForTimeout(5000). You may adjust this value to accommodate slower network speeds. Rest assured, we'll enhance the script later in the article to dynamically wait for the download to complete instead of relying on a fixed time.
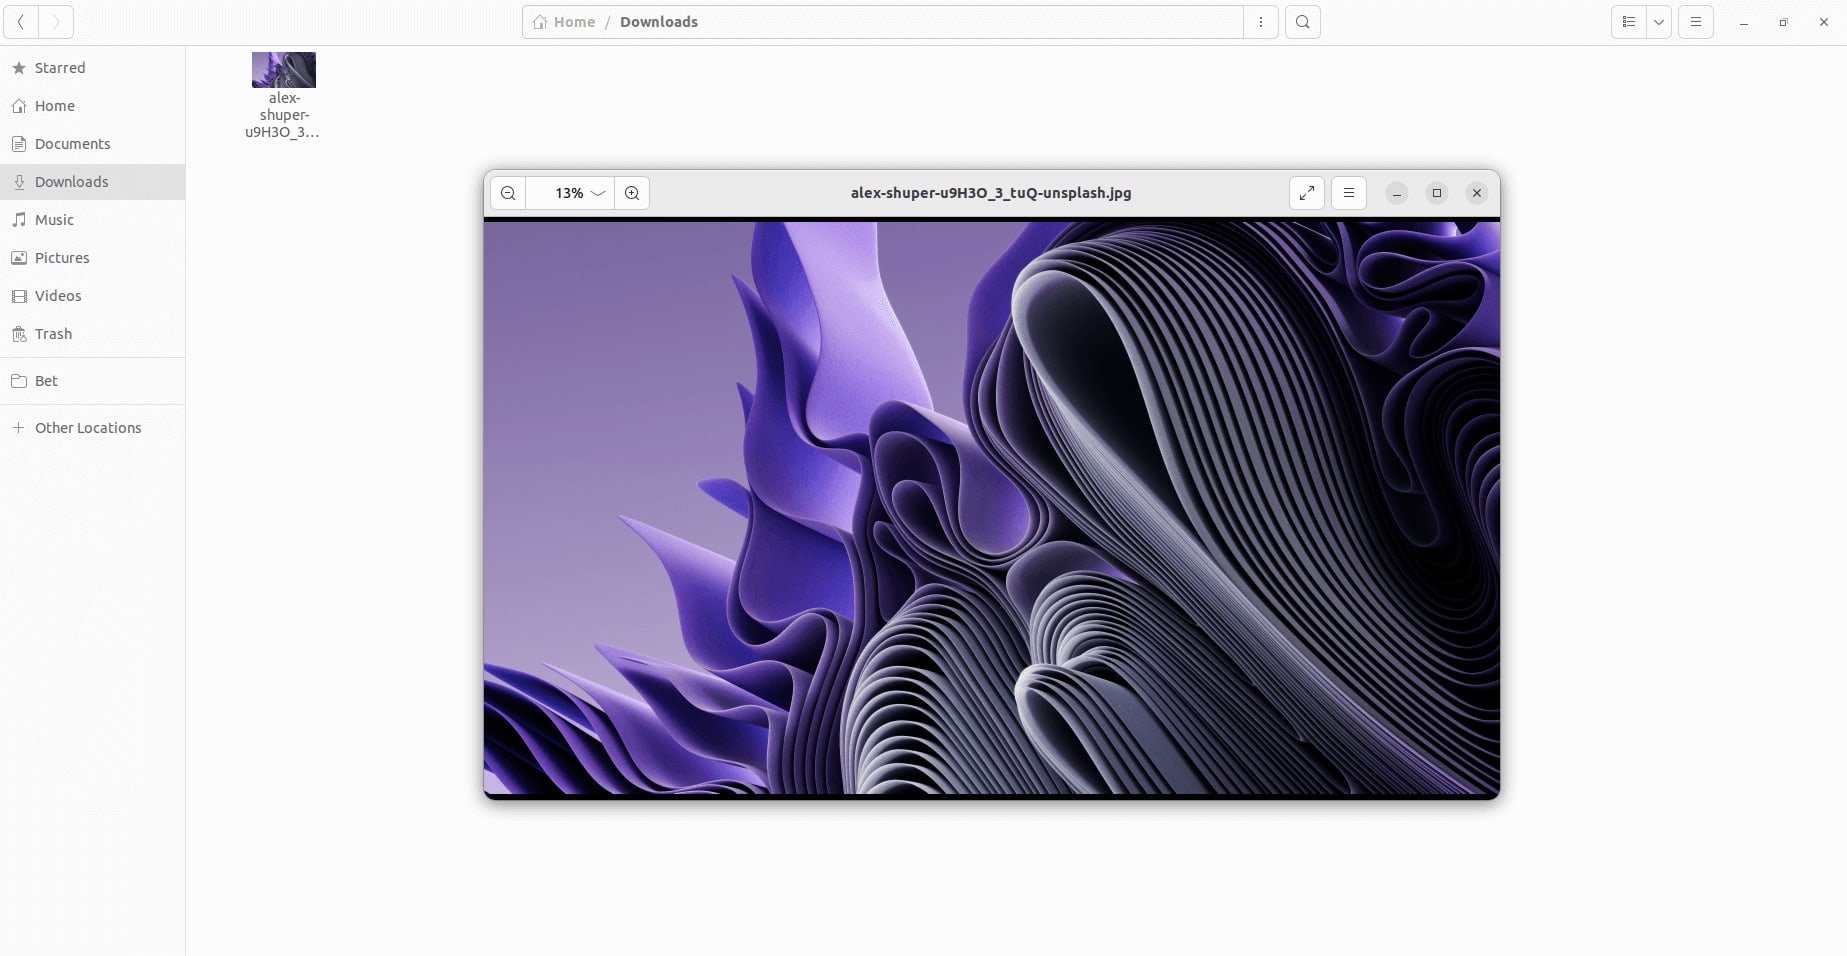
Upon running this script, you'll observe that a file named "alex-shuper-u9H3O_3_tuQ-unsplash.jpg" is downloaded to the default "Downloads" folder of your operating system, as illustrated below:
Why Automated File Downloads Matter?
Automating the process of downloading files finds applications in various scenarios, with some of them outlined below:
-
Automated Testing: In testing scenarios, the ability to download files is crucial for validating file-related functionalities, and ensuring correct behavior within applications.
-
Social Media: Extracting images, posts, or other data from social media platforms supports activities like social listening, sentiment analysis, or competitive intelligence.
-
Email Attachment Automation: The automation of downloading email attachments from web-based email clients streamlines the organization and backup of important files.
-
Data Collection: For web scraping or data extraction tasks, automated file downloads are essential to gather a diverse range of data types, including images, documents, or multimedia content. This is particularly significant for training machine learning models with a rich dataset.
-
Batch Processing: Tasks involving the processing of multiple files, such as downloading resumes or reports in bulk, are made more efficient through automated file downloads.
Understanding File Downloads
When a user initiates a file download through a web browser, several steps are involved in the process:
-
User Trigger: The user clicks on a download link or button on a webpage, triggering a request to download a file.
-
Server Response: The browser sends that request to the server hosting the file, specifying the file to be downloaded. The server responds with the file data and necessary headers.
-
Headers and MIME Types: The server's response includes headers that provide information about the file, such as its type (MIME type) and size. The browser uses this information to handle the file appropriately.
-
Content-Disposition Header: The
Content-Dispositionheader in the server's response informs the browser about how to handle the received content. If the header includes an "attachment" disposition, the browser treats it as a file download. -
Download Prompt: Based on the server's response, the browser may prompt the user to choose a location for saving the file or automatically save it to a default location.
-
Download Manager: The browser's download manager keeps track of ongoing and completed downloads. Users can monitor and manage their downloads through this interface.
Important HTTP Headers
HTTP headers are key-value pairs sent between the client (typically a web browser) and the server during an HTTP request or response. They provide additional information about the request or response and can control various aspects of communication between the client and server.
In the context of automating file download, it is important to know these response headers:
-
Content-Type: The MIME (Multipurpose Internet Mail Extensions) type of a file is typically specified in the
Content-Typeheader of the HTTP response. TheContent-Typeheader informs the client (browser or script) about the type of content being sent in the response, allowing it to interpret and handle the content appropriately.The general structure of the
Content-Typeheader is as follows:Content-Type: type/subtypeWhere
typespecifies the primary category or type of the content (e.g., text, image, audio, video, application, etc.), whilesubtyperepresents the specific format or subtype within the primary category (e.g., html, png, json, mp4, etc.).For example, if the server is sending an HTML document, the
Content-Typeheader might look like this:Content-Type: text/htmlAnd if it's sending a PNG image, the header might look like:
Content-Type: image/pngIn the context of file downloads, the
Content-Typeheader helps the client understand the nature of the file being downloaded. -
Content-Length: The
Content-Lengthheader in an HTTP response indicates the size of the response body in octets (8-bit bytes). It specifies the length of the content being sent from the server to the client. The header is essential for the client to know how much data to expect, especially in the context of file downloads.The structure of the
Content-Lengthheader is simple:Content-Length: <size>Where
sizerepresents the size of the content in octets.For example:
Content-Length: 1024In this example, the
Content-Lengthis set to "1024", indicating that the response body is "1024" bytes in size. -
Content-Disposition: The
Content-Dispositionheader in an HTTP response can have two values:attachmentandinline. These values indicate how the client (browser or script) should handle the content being served. Here's an explanation of each:-
attachment: When the
Content-Dispositionheader has the value "attachment", it suggests that the content should be treated as an attachment and usually prompts the user to download the file.If a filename is specified after the attachment;
filename="example.txt", the browser will typically suggest this filename to the user when initiating the download. This is commonly used for serving files that should be saved locally, such as downloadable documents, images, or media files.Example:
Content-Disposition: attachment; filename="example.txt" -
inline: When the
Content-Dispositionheader has the value "inline", it suggests that the content should be displayed within the browser itself, usually in the browser's window or embedded in the page.This is often used for content that the browser can directly render, such as images, PDFs, or audio/video files, without the need for a separate download prompt.
Example:
Content-Disposition: inlineNote: For inline content, the filename might not be specified, as it's assumed that the content will be displayed within the browser rather than saved as a separate file. Additionally, it's important to note that the presence of a
Content-Dispositionheader is not universal in all HTTP responses. This header is commonly employed when the server intends for the client to handle the content in a particular manner, such as triggering a file download prompt for the user.
-
These headers help control how the client handles the content, influencing whether it's displayed within the browser or treated as a downloadable file.
Puppeteer offers a convenient way to manage the "response" event. You can utilize page.on("response") to invoke a callback function whenever a response is generated by the server. Here's a script to retrieve the values of these headers—Content-Type, Content-Length, and Content-Disposition—using Puppeteer:
const puppeteer = require('puppeteer');

(async () => {
  const browser = await puppeteer.launch({headless: false});
  const page = await browser.newPage();

  page.on('response', (response) => {
    const contentType = response.headers()['content-type']; // MIME Type
    const contentLength = response.headers()['content-length'];
    const contentDisposition = response.headers()['content-disposition'];

    if (contentType && contentLength && contentDisposition) {
      console.log('Content-Type:', contentType);
      console.log('Content-Length:', contentLength);
      console.log('Content-Disposition:', contentDisposition);
      console.log('------------------------');
    }
  });

  // Your target URL
  const url = 'https://file-examples.com/index.php/sample-audio-files/sample-mp3-download/';
  await page.goto(url);

  await browser.close();
})();

// Content-Type: text/javascript; charset=UTF-8
// Content-Length: 51289
// Content-Disposition: attachment; filename="f.txt"
// ------------------------
// Content-Type: text/javascript; charset=UTF-8
// Content-Length: 140887
// Content-Disposition: attachment; filename="f.txt"
// ------------------------
// Content-Type: text/javascript; charset=UTF-8
// Content-Length: 57068
// Content-Disposition: attachment; filename="f.txt"
// ------------------------
// ... More Responses
Downloading a File
It's crucial to recognize that not all files served on web pages are intended for direct download. Some are meant to be rendered on the page through elements like <img> or <video>, while others, like PDFs, open in new pages for viewing without immediate downloads. These files typically don't trigger automatic downloads upon clicking. We'll explore how to download these types of files in upcoming sections.
For now, let's concentrate on files explicitly designated for download by web developers.
In this context, the process often involves just two steps: locating the download button and clicking on it.
Step 1: Locating the Download Link or Button
Before proceeding to download, it's essential to learn how to locate the download button using its CSS selector or XPath. For our example, we'll use PDFDrive.com to download the book The Alchemist.
Begin by visiting this link in your browser and press "F12" to open the inspection tab. The tab will display the HTML structure of the webpage, as shown in the screenshot below:
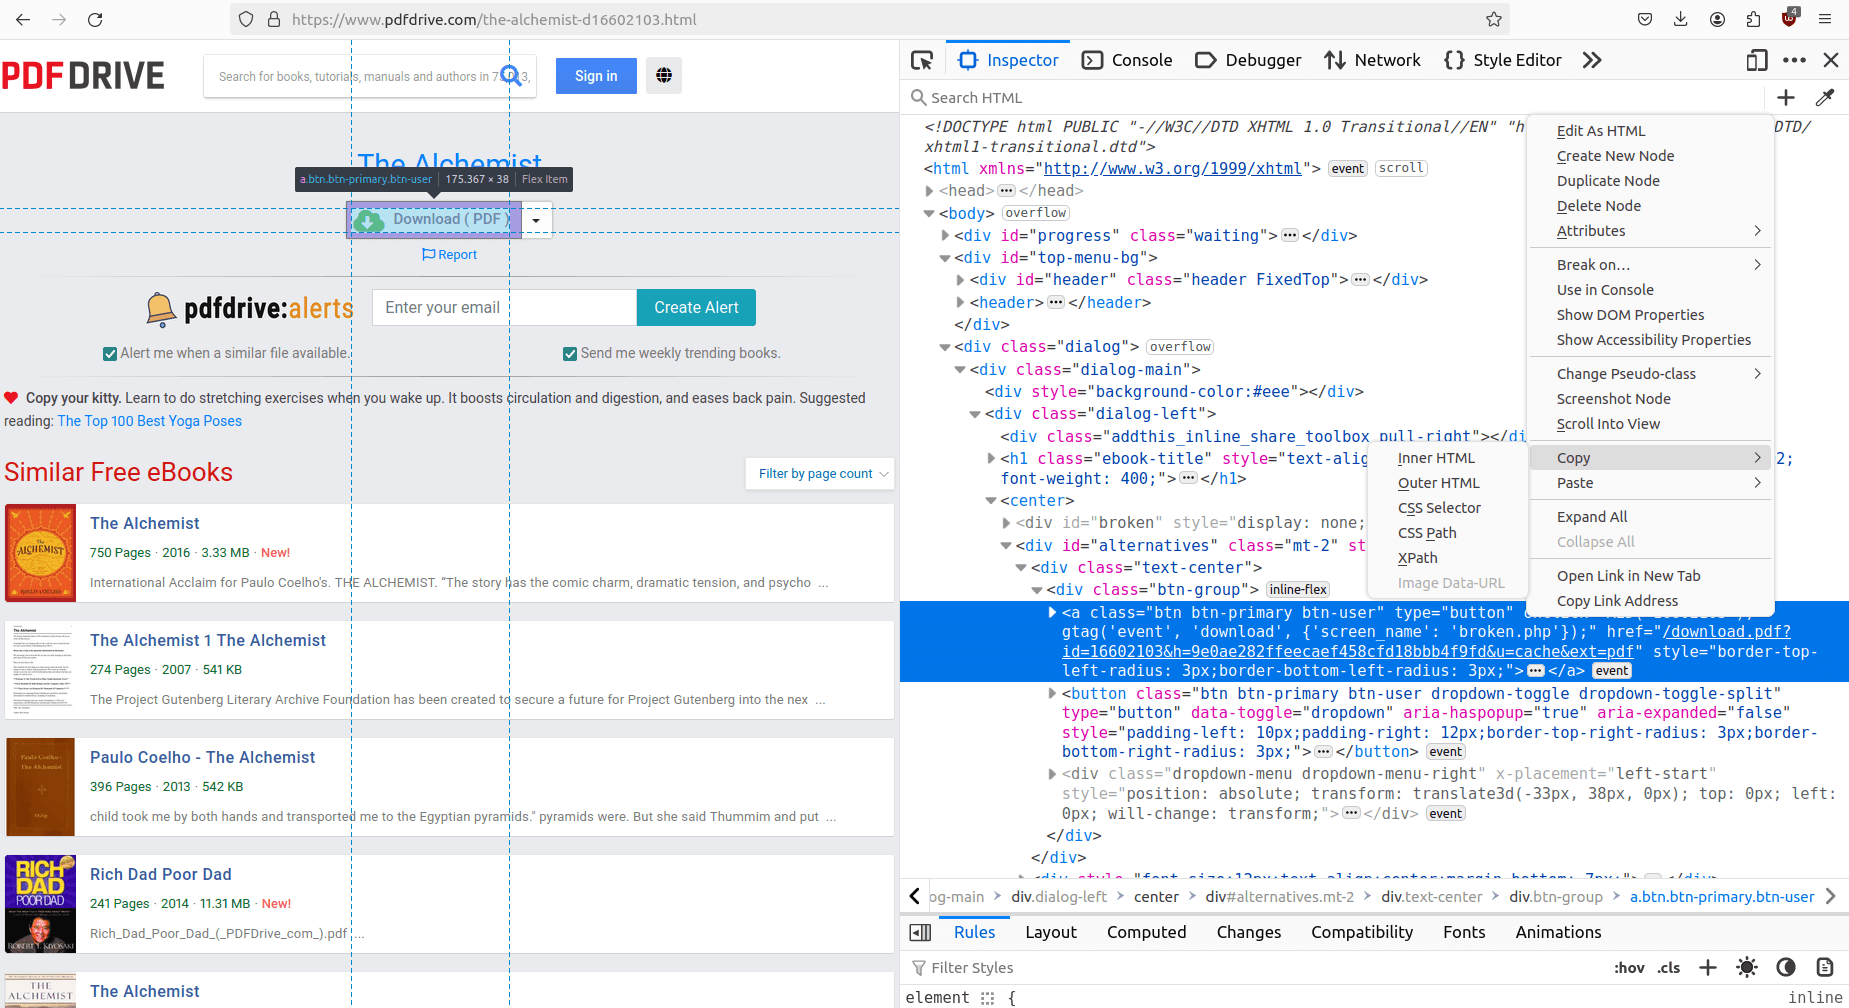
In the provided screenshot, the inspection tab highlights the download button, which is represented by an <a> (link) element. Right-clicking on the element and selecting "copy" offers options to copy the "CSS Selector" or "XPath". Let's explore the meaning of these two options:
-
CSS Selector: CSS selectors are constructed using various components such as:
Component Syntax Example Description Element Type divSelects elements based on their HTML type. ID #myIdSelect an element with a specific ID. Class .myClassSelects elements with a specific class. Attribute [attribute=value]Selects elements based on attributes. Attribute Value [type='text']Selects elements based on attribute values. Pseudo-class :hoverSelects elements based on their state. Descendant div pSelects all <p>elements inside a<div>.CSS selectors are widely used in web scraping and automation to locate and interact with specific elements on a webpage.
-
XPath: XPath expressions are constructed using various components to navigate and select nodes within an XML or HTML document. Here are the key components of XPath expressions:
Component Syntax Example Description Element Type //divSelects elements based on their HTML type. ID //*[@id='myId']Selects an element with a specific ID. Class //div[@class='myClass']Selects elements with a specific class. Attribute //*[@attribute='value']Selects elements based on attributes. Attribute Value //input[@type='text']Selects elements based on attribute values. Position (//p)[2]Selects elements based on their position in the document. Text Content //h2[text()='Introduction']Selects elements based on their textual content. Parent-Child //div[@class='parent']//pSelects child elements based on their relationship to a parent. Keep in mind that the provided examples are simplified, and both CSS selectors and XPath expressions can be more complex based on the specific requirements of your web scraping or automation task.
Use CSS selectors for simplicity, and readability, and when element targeting is straightforward. Choose XPath when dealing with complex document structures, non-hierarchical relationships, or when more advanced traversal capabilities are required.
After inspecting the download button on PDFDrive.com, the obtained CSS selector is a.btn, and the corresponding XPath expression is /html/body/div[3]/div[1]/div[2]/center/div[2]/div[1]/div/a.
Clicking the Download Link or Button
Now that we've identified our target download button as an <a> link element with the CSS selector a.btn, we'll explore how to use Puppeteer to click on this button and initiate the download of our book, "The Alchemist."
Notably, when navigating to PDFDrive via a browser, you may have observed a progress bar titled "Checking for remote file health" appearing before the download button.
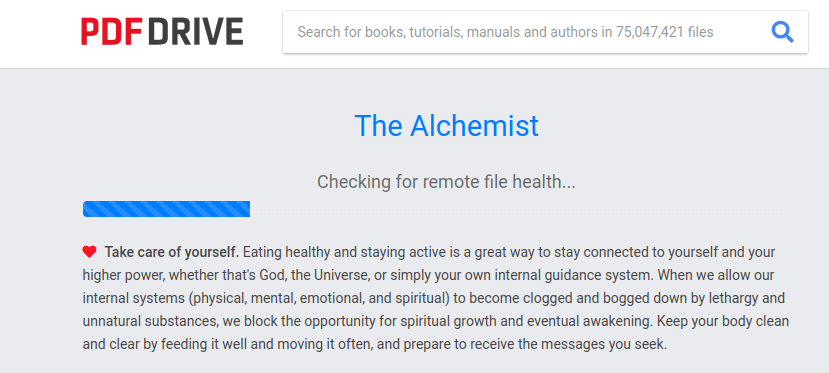
Consequently, we need to wait for this progress bar to complete before the download button becomes visible on the screen and can be clicked.
To achieve this, Puppeteer provides an elegant method called page.waitForSelector(). This method waits for the element with the specified selector to appear on the page.
- If the selector already exists at the time of calling the method, it returns immediately.
- However, if the selector doesn't appear within the specified timeout (default 30 seconds), the function throws an error.
Finally, we'll initiate the download by utilizing the page.click() method. The script is as follows:
const puppeteer = require('puppeteer');

(async () => {
  const browser = await puppeteer.launch({headless: false});
  const page = await browser.newPage();

  const url = 'https://www.pdfdrive.com/the-alchemist-d16602103.html';
  await page.goto(url);

  await page.waitForSelector("a.btn", {visible: true});
  await page.click("a.btn");

  await page.waitForTimeout(5000);
  await browser.close();
})();
In this script:
-
After launching Puppeteer and navigating to the specified URL, we used
page.waitForSelector("a.btn", {visible: true})to wait until the download button is visible on the webpage. -
Subsequently,
page.click("a.btn")is utilized to click on the download button. -
To allow time for the download to complete, we used
page.waitForTimeout(5000)to wait for 5 seconds. -
After executing this script, the file named "The Alchemist (PDFDrive).pdf" will be downloaded to your default "Downloads" folder.

Setting a Custom Download Behaviour
In our previous code examples, files were downloaded directly to the default "Downloads" folder of our operating system. Puppeteer offers a way to designate a custom directory for all downloads.
While Puppeteer itself doesn't provide a direct method for this purpose, it does offer access to the advanced features of the Chromium browser through the createCDPSession() method. This method initiates a new Chrome DevTools Protocol (CDP) session, allowing us to utilize low-level methods and listen to low-level events.
To establish a new CDP session, use the following code:
const client = await page.target().createCDPSession();

// Listen to CDP Events
client.on(event_name);

// Execute CDP Methods
await client.send(method_name)
One of the CDP methods is Browser.setDownloadBehavior. This method is used to configure the download behavior of the browser, specifying whether to allow or deny downloads and setting the download path.
The method accepts an object with specific properties to define this behavior. Here are the four options available for setDownloadBehavior:
-
behavior: This property specifies the download behavior and accepts one of the following string values:
-
allow: Allows downloads to proceed. -
allowAndName: Allows download and names files according to their download GUIDs.Globally Unique Identifier (GUID): A unique identifier assigned to each download instance to keep track of its progress and associated information.
-
deny: Blocks downloads. -
default: Resets the behavior to the browser's default handling of downloads.
-
-
eventsEnabled: (optional): This is a boolean value indicating whether or not to emit "download" events. When set to
true, the browser will emit "download" events that can be listened to. This allows for more control and monitoring over the download process. The two primary "download" events of significance areBrowser.downloadWillBeginandBrowser.downloadProgress. In upcoming sections, we will employ these events to track and monitor the progress of our file downloads. -
downloadPath: (optional): This is a string specifying the file system path where downloaded files will be saved. This option is only relevant if
behavioris set toalloworallowAndName.
Here is an example of how to use setDownloadBehavior with these options:
const client = await page.target().createCDPSession();

await client.send('Browser.setDownloadBehavior', {
  behavior: 'allow',
  downloadPath: '/path/to/download',
  eventsEnabled: true,
});
Now, let's modify our PDFDrive Script to download "The Alchemist" and save it to a designated folder:
const puppeteer = require('puppeteer');

(async () => {
  const browser = await puppeteer.launch({headless: false});
  const page = await browser.newPage();

  const url = 'https://www.pdfdrive.com/the-alchemist-d16602103.html';
  await page.goto(url);

  const client = await page.target().createCDPSession();

  await client.send('Browser.setDownloadBehavior', {
    behavior: 'allow',
    downloadPath: './Books',
  });

  await page.waitForSelector("a.btn", {visible: true});
  await page.click("a.btn");

  await page.waitForTimeout(5000);
  await browser.close();
})();
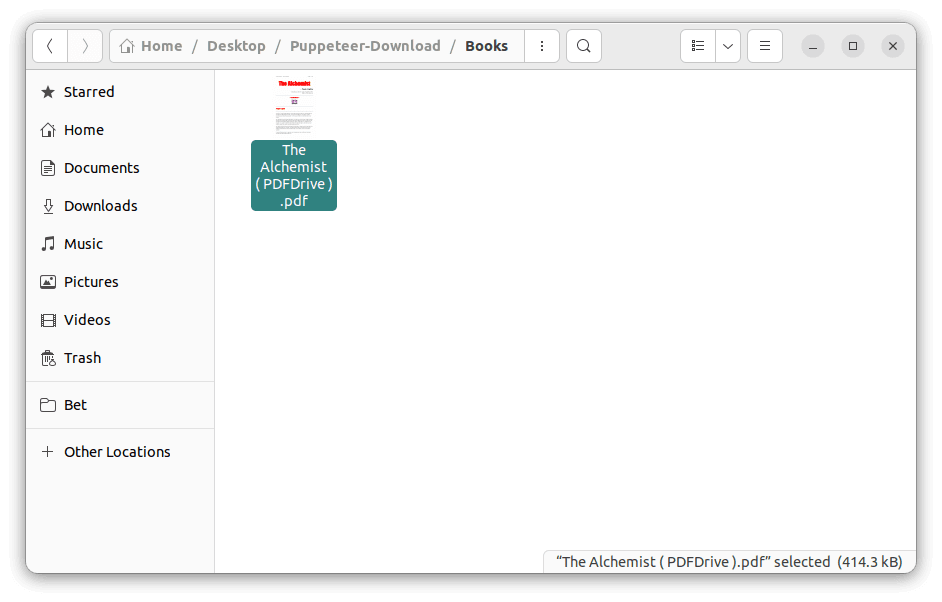
Upon running this script, you'll observe the creation of a new folder named "Books" in your working directory. Inside this folder, you'll find the file named "The Alchemist ( PDFDrive ).pdf" as a result of the download.
Monitoring Download Progress
In our code examples so far, we've relied on a hardcoded waiting time of 5 seconds (using waitForTimeout(5000)) under the assumption that the file would be downloaded within that timeframe.
However, this approach is flawed because the file's size can vary, leading to either an incomplete download or unnecessary waiting time.
The more effective approach is to dynamically wait for the download to complete by leveraging Puppeteer's createCDPSession() method, which provides access to low-level events.
Specifically, we can utilize the Browser.downloadWillBegin and Browser.downloadProgress events to monitor the start and completion times of our downloads. This way, we adapt our waiting time based on the actual download duration, ensuring more accurate and efficient handling of file downloads.
-
Browser.downloadWillBeginEvent: This event is fired when the browser is about to start a download. It occurs before the actual download begins and provides information about the frame that triggered the download, the global unique identifier (GUID) of the download, the URL of the resource being downloaded, and the suggested filename for saving the resource. ThedownloadWillBeginevent has the following attributes:-
frameId: Id of the frame that caused the download to begin.
-
guid: Global unique identifier of the download.
-
url: URL of the resource being downloaded.
-
suggestedFilename: The suggested file name of the resource. The actual name of the file saved on disk may differ.
-
-
Browser.downloadProgressEvent: This event is fired when a download is in progress. It provides information about the progress of the download, including the global unique identifier (GUID), total expected bytes, total bytes received, and the current state of the download. ThedownloadProgressevent has the following attributes:-
guid: Global unique identifier of the download.
-
totalBytes: Total expected bytes to download.
-
receivedBytes: Total bytes received.
-
state: Download status, which can have the following allowed values:
-
inProgress: The download is in progress.
-
completed: The download has been completed.
-
canceled: The download has been canceled.
-
The
downloadProgressevent is fired multiple times as the download progresses, and the last call has thestateattribute set tocompleted. This signifies that the download process has been successfully completed. -
Here is the script that will wait for our file to completely download before closing the browser instance:
const puppeteer = require('puppeteer');

(async () => {
  const browser = await puppeteer.launch({headless: false});
  const page = await browser.newPage();

  const downloads = new Map();
  let downloadResolvers = new Set();

  const waitForDownloadCompletion = () => {
    return new Promise(resolve => downloadResolvers.add(resolve));
  }

  const client = await page.target().createCDPSession();

  client.on('Browser.downloadWillBegin', event => {
    if (downloadResolvers.size > 0) {
      downloads.set(event.guid, {
        resolvers: downloadResolvers,
        filename: event.suggestedFilename,
      });
      downloadResolvers = new Set();
    }
  });

  client.on('Browser.downloadProgress', event => {
  const { guid } = event;
  if (event.state === 'completed' && downloads.has(guid)) {
    const { resolvers, filename } = downloads.get(guid);
    downloads.delete(guid);
    resolvers.forEach(resolve => resolve(filename));
    }
  });

  await client.send('Browser.setDownloadBehavior', {
    behavior: 'allow',
    downloadPath: './Books',
    eventsEnabled: true,
  });

  const url = 'https://www.pdfdrive.com/the-alchemist-d16602103.html';
  await page.goto(url);
  await page.waitForSelector("a.btn", {visible: true});

  const [ filename ] = await Promise.all([
    waitForDownloadCompletion(),
    page.click("a.btn"),
  ]);

  console.log('File:', `"${filename}"`, 'Successfuly Downloaded');
  await browser.close();
})();

// File: "The Alchemist ( PDFDrive ).pdf" Successfully Downloaded
Upon executing the script, you'll observe that once the file "The Alchemist (PDFDrive).pdf" completes its download and is stored in the 'Books' folder, the browser instance automatically closes. Subsequently, the filename is displayed on the console. The script is kind of lengthy; let's break down the code step by step for better understanding.
-
Initialization and Setup:
const downloads = new Map();
let downloadResolvers = new Set();-
downloadsMap: This map is used to store information about ongoing downloads. The keys are unique identifiers (GUIDs) associated with each download, and the values are objects containing information about the download (e.g., filename, associated resolve functions). -
downloadResolversSet: This set is used to keep track of the resolve functions associated with each download. When a download begins, a new promise is created, and its resolve function is added to this set.
-
-
Setting up CDPSession:
const client = await page.target().createCDPSession();This line establishes a Chrome DevTools Protocol (CDP) session to interact with the low-level browser events.
-
Handling Download Start (
Browser.downloadWillBeginEvent):client.on('Browser.downloadWillBegin', event => {
if (downloadResolvers.size > 0) {
downloads.set(event.guid, {
resolvers: downloadResolvers,
filename: event.suggestedFilename,
});
downloadResolvers = new Set();
}
});- This event listener is triggered when a download is about to begin (
Browser.downloadWillBegin). - It checks if there are any waiting promises (
downloadResolvers.size > 0). - If there are, it creates an entry in the downloads map with the download GUID, associated resolve functions, and the suggested filename. Then, it resets the
downloadResolversset for the next download.
- This event listener is triggered when a download is about to begin (
-
Handling Download Progress (
Browser.downloadProgressEvent):client.on('Browser.downloadProgress', event => {
const { guid } = event;
if (event.state === 'completed' && downloads.has(guid)) {
const { resolvers, filename } = downloads.get(guid);
downloads.delete(guid);
resolvers.forEach(resolve => resolve(filename));
}
});- This event listener is triggered when there is progress in a download (
Browser.downloadProgress). - It checks if the download is completed (
event.state === 'completed') and if the download is being tracked in the downloads map. - If so, it retrieves the associated resolve functions and filename from the map, removes the entry from the map, and calls each resolve function to fulfill the associated promise.
- This event listener is triggered when there is progress in a download (
-
Setting Download Behavior and Path:
await client.send('Browser.setDownloadBehavior', {
behavior: 'allow',
downloadPath: './Books',
eventsEnabled: true,
});This sets the download behavior to allow downloads, specifies the download path, and enables download events.
-
Navigating to a Page and Initiating Download:
const url = 'https://www.pdfdrive.com/the-alchemist-d16602103.html';
await page.goto(url);
await page.waitForSelector("a.btn", { visible: true });
const [filename] = await Promise.all([
waitForDownloadCompletion(),
page.click("a.btn"),
]);- It navigates to a specific URL and waits for a button with the class "btn" to become visible.
- It uses
Promise.all()to wait for both thewaitForDownloadCompletion()promise (waiting for the download to complete) and thepage.click()promise (initiating the download).
Verifying File Download
While confirming the completion of a file download, it is sufficient to check if event.state === 'completed' within the handling of the Browser.downloadProgress event.
However, an additional step can be taken to ensure the integrity of the downloaded file. You can verify that the file not only exists in the designated folder but also matches the expected file size retrieved from the server.
To obtain the total size of the file to be downloaded, you can utilize the event.totalBytes property from the Browser.downloadProgress event:
client.on('Browser.downloadProgress', event => {
console.log(event.totalBytes);
});
// 414262
For example, if the file downloaded in the previous section had a size of 414,262 bytes, you can compare this value with the actual size of the downloaded file. This can be accomplished using the fs.stat(filePath, callback) function:
const fs = require('fs');
const filePath = './Books/The Alchemist ( PDFDrive ).pdf';
const originalFileSize = 414262; // Bytes
fs.stat(filePath, (err, stats) => {
if (err) {
console.log("File not Present");
return;
}
const downloadedFileSize = stats.size; // Bytes
if (originalFileSize === downloadedFileSize) {
console.log("The file is Present and has the Correct Size");
}
});
// Output: The file is Present and has the Correct size
This script not only checks for the existence of the file but also ensures that it matches the expected size obtained from the server during the download process.
Downloading Multiple Files
So far, our scripts have focused on downloading individual files. However, in practical situations, you often need scripts capable of downloading multiple files. This can be accomplished by storing all file URLs in an array and then using a loop to download the files from each webpage.
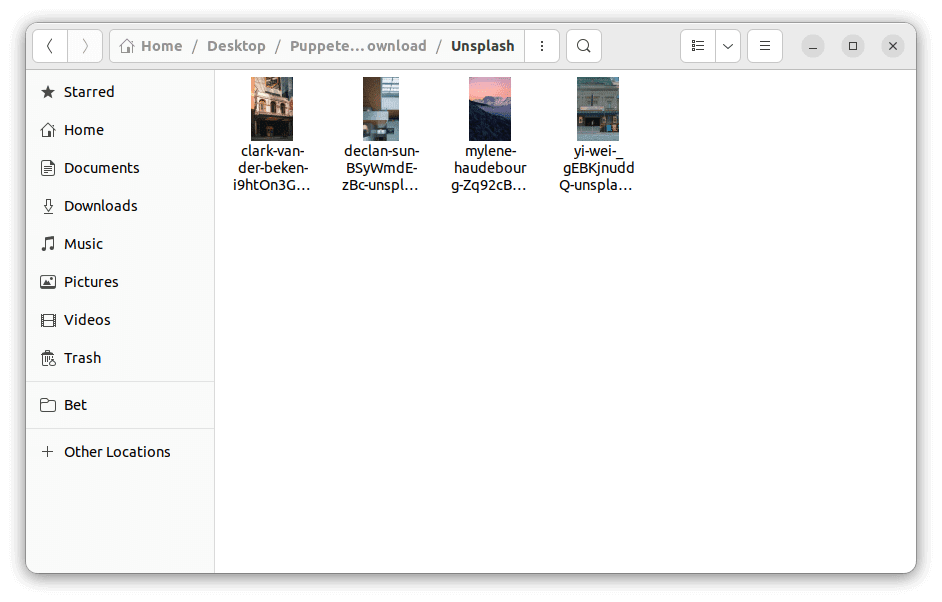
The following script demonstrates how to download four images simultaneously from Unsplash.com into the folder "Unsplash":
const puppeteer = require('puppeteer');
const urls = ['https://unsplash.com/photos/a-building-with-a-sign-that-says-royal-alexandria-theatre-_gEBKjnuddQ',
'https://unsplash.com/photos/a-large-building-with-a-skylight-above-it-BSyWmdE-zBc',
'https://unsplash.com/photos/a-man-riding-a-bike-past-a-tall-building-i9htOn3G_M4',
'https://unsplash.com/photos/a-mountain-covered-in-snow-with-a-pink-sky-Zq92cBT54_A'];
async function download(url) {
const browser = await puppeteer.launch({ headless: false });
const page = await browser.newPage();
const downloads = new Map();
let downloadResolvers = new Set();
const waitForDownloadCompletion = () => {
return new Promise(resolve => downloadResolvers.add(resolve));
}
const client = await page.target().createCDPSession();
client.on('Browser.downloadWillBegin', event => {
  if (downloadResolvers.size > 0) {
    downloads.set(event.guid, {
      resolvers: downloadResolvers,
      filename: event.suggestedFilename,
    });
    downloadResolvers = new Set();
  }
});
client.on('Browser.downloadProgress', event => {
  const { guid } = event;
  if (event.state === 'completed' && downloads.has(guid)) {
    const { resolvers, filename } = downloads.get(guid);
    downloads.delete(guid);
    resolvers.forEach(resolve => resolve(filename));
  }
});
await client.send('Browser.setDownloadBehavior', {
behavior: 'allow',
downloadPath: './Unsplash',
eventsEnabled: true,
});
await page.goto(url);
await page.waitForSelector('.TaWJf', { visible: true });
const [ filename ] = await Promise.all([
waitForDownloadCompletion(),
page.click('.TaWJf'),
]);
console.log('File:', `"${filename}",`, 'Successfuly Downloaded');
await browser.close();
}
async function main() {
const promises = urls.map(url => download(url));
await Promise.all(promises);
}
main();
// File: "clark-van-der-beken-i9htOn3G_M4-unsplash.jpg", Successfuly Downloaded
// File: "mylene-haudebourg-Zq92cBT54_A-unsplash.jpg", Successfuly Downloaded
// File: "yi-wei-_gEBKjnuddQ-unsplash.jpg", Successfuly Downloaded
// File: "declan-sun-BSyWmdE-zBc-unsplash.jpg", Successfuly Downloaded
In the above script, four browser instances are initiated to achieve parallel downloads of four images. We've also incorporated the capability to listen for download events, ensuring that the script waits for each download to complete.
Downloading All the Images From a Web Page
So far in our code examples, we've primarily focused on downloading files by interacting with download buttons. However, web pages often contain various files, such as images, intended for display rather than explicit download. These files may not have a dedicated download button, yet they can still be downloaded.
In this section, we'll explore how to download files directly from their source URLs, bypassing the need for a download button. Before diving into the code example, let's clarify two key concepts:
-
page.on("response"): In Puppeteer, the
page.on("response")method is used to listen for network responses triggered by a page. When a webpage makes requests (e.g., fetching images, scripts, stylesheets), each response from the server is captured by this event. -
response.buffer(): The
response.buffer()method is a Puppeteer method used to retrieve the response body as a Buffer. It is particularly useful when dealing with binary data, such as images or files, as it allows you to capture the raw content of the response.It's important to note that
response.buffer()is one of the methods provided by Puppeteer to access the content of a response, and there are other methods likeresponse.text(),response.json(), etc., depending on the nature of the response content.
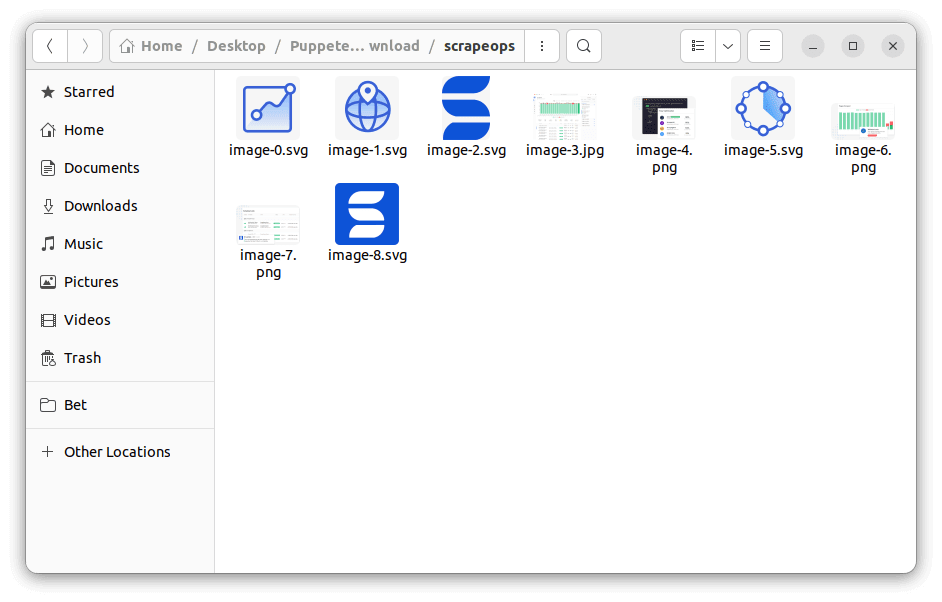
Let's create a script that downloads images of various types (jpg, png, svg, and gifs) from ScrapeOps homepage. The script retrieves image data using the buffer() method and saves the data to a folder named "scrapeops" using the writeFileSync() method.
Firstly, create a folder named "scrapeops" and then execute the following script:
const puppeteer = require('puppeteer');
const fs = require('fs');

(async () => {
  const browser = await puppeteer.launch({headless: false});
  const page = await browser.newPage();

  let counter = 0;

  page.on('response', async (response) => {
    const matches = /.*\.(jpg|png|svg|gif)$/.exec(response.url());

    if (matches && matches.length === 2) {
      console.log(matches[0]);

      const extension = matches[1];
      const buffer = await response.buffer();

      fs.writeFileSync(`scrapeops/image-${counter++}.${extension}`, buffer, 'base64');
    }
  });

  await page.goto('https://scrapeops.io', {
    waitUntil: "networkidle2"
  });

  await browser.close();
})();

// https://scrapeops.io/img/scrapeops-hero-demo.jpg
// https://assets-scrapeops.nyc3.digitaloceanspaces.com/Icons/scrapeops-monitoring-icon.svg
// https://assets-scrapeops.nyc3.digitaloceanspaces.com/Icons/scrapeops-proxy-aggregator-icon.svg
// ... More
We used RegEx to filter response URLs ending with image file extensions. After running the script, you will see the image source URLs printed in the console. All downloaded images will be saved to the "scrapeops" folder in the current working directory.
Downloading Images from Google Images
Now, we're going to have some fun by creating a script to download images from "Google Images". We will create a script using familiar methods discussed in the previous section. Here are some key points about Google Images:
- Google Image source URLs start with a prefix like
data:image/jpeg;base64. - Not all Google Images are available at once; they load as you scroll.
- The URL for navigating to Google Images includes
'&tbm=isch'at the end, indicating an image search.
Now, let's write the script. It will search for the keyword 'scrapeops' on "Google Images".
To begin, create a directory named "google-images" that will serve as the storage location for all the downloaded images:
const puppeteer = require('puppeteer');
const fs = require('fs');

(async () => {
  const browser = await puppeteer.launch({ headless: false });
  const page = await browser.newPage();

  let counter = 0;

  page.on('response', async (response) => {
    const url = response.url();

    if (url.startsWith('data:image/')) {

      const extension = url.split('/')[1].split(';')[0];
      const buffer = await response.buffer();

      const filename = `google-images/image-${counter++}.${extension}`;
      fs.writeFileSync(filename, buffer, 'base64');

      console.log(filename);
    }
  });

  await page.goto('https://www.google.com/search?q=scrapeops&tbm=isch', {
    waitUntil: 'networkidle2',
  });

  await browser.close();
})();

// google-images/image-0.gif
// google-images/image-1.jpeg
// google-images/image-2.jpeg
// google-images/image-3.png
// ... More
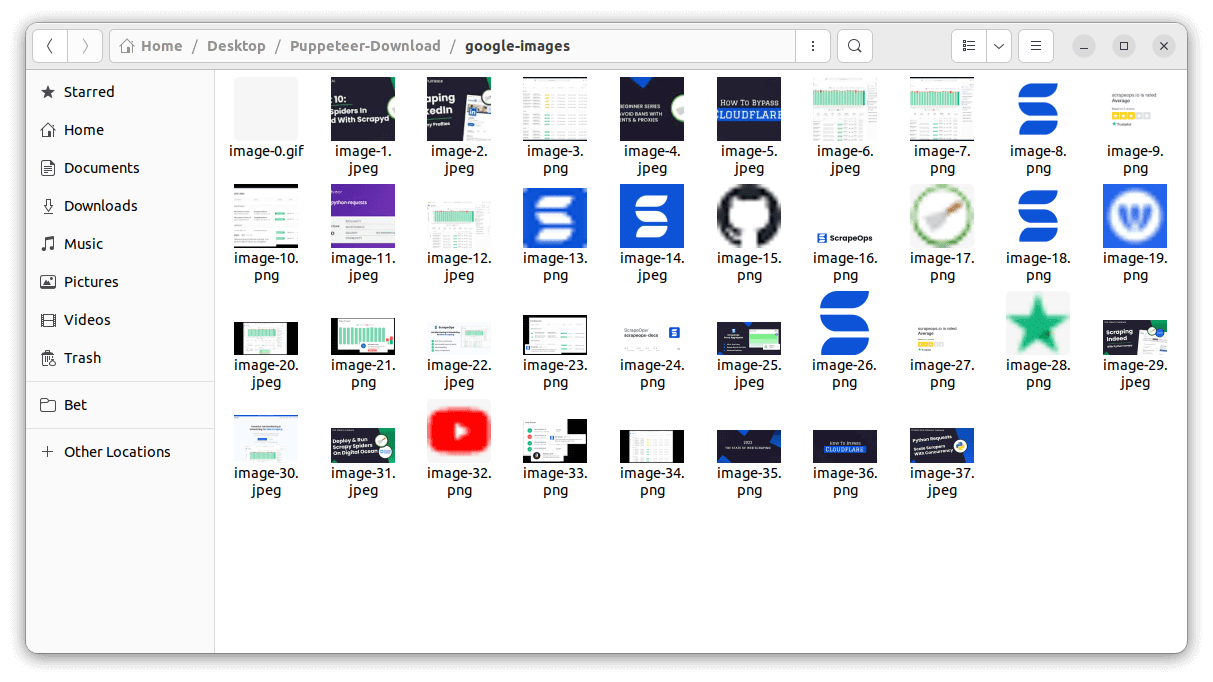
This script searches for the keyword 'scrapeops' on "Google Images" and downloads all the images available without scrolling. It checks if the URL of each image starts with 'data:image/' and saves them accordingly to the "google-images" folder.
Handling Different File Types
When automating downloads with Puppeteer, it's crucial to consider MIME types or file types, as different files may require distinct handling mechanisms.
For instance, you may want to save images to one folder and PDFs to another. By examining MIME types, you can tailor your download handling logic based on the specific file type being retrieved.
To determine the file type, you can inspect the value set to the Content-Type header in the "response" object like this:
page.on('response', (response) => {
  const contentType = response.headers()['content-type'];
  console.log(contentType);
});
While Puppeteer facilitates downloading various file types such as images, audio, and videos, challenges may arise when downloading PDFs from source URLs. To address potential issues, it is recommended to use Axios in conjunction with Puppeteer specifically for downloading PDFs. Here's an example:
const axios = require('axios');
const fs = require('fs');
async function downloadFile() {
try {
const response = await axios({
url: 'https://www.w3.org/WAI/ER/tests/xhtml/testfiles/resources/pdf/dummy.pdf',
method: 'GET',
responseType: 'stream',
});
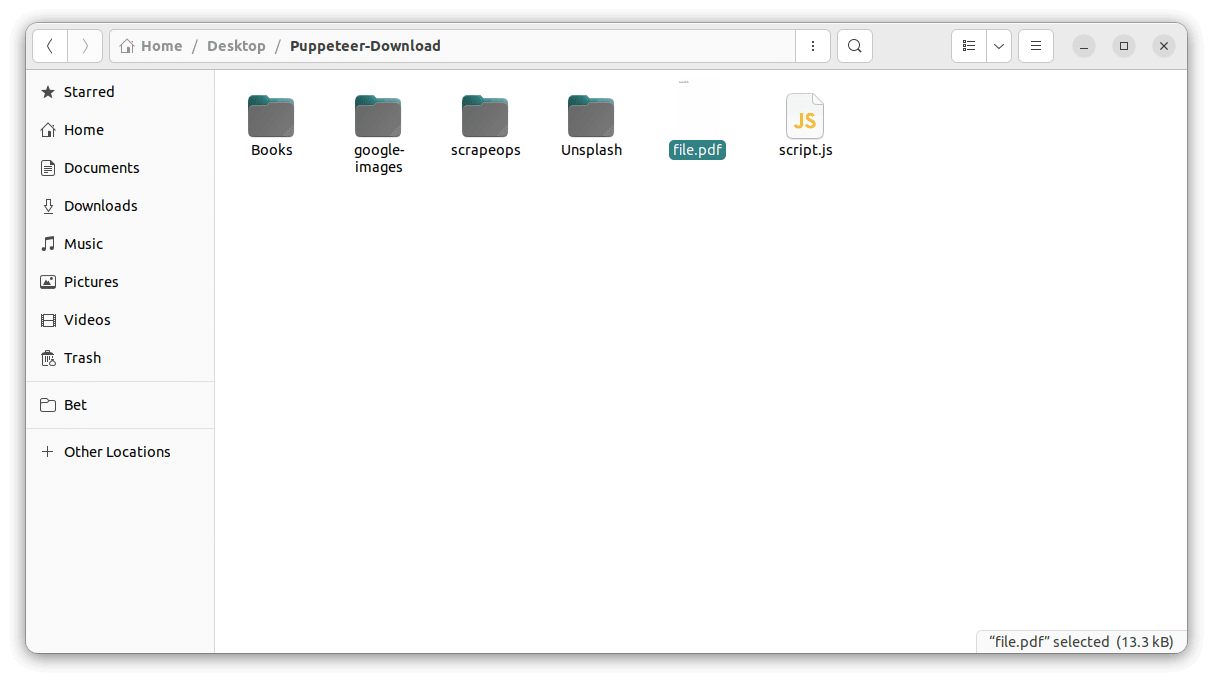
const writer = fs.createWriteStream('./file.pdf');
response.data.pipe(writer);
return new Promise((resolve, reject) => {
writer.on('finish', () => {
console.log('Download finished');
resolve();
});
writer.on('error', (error) => {
console.error('Error occurred:', error);
reject(error);
});
});
} catch (error) {
console.error('Download failed:', error.message);
throw error;
}
}
// Call the function to initiate the download
downloadFile();
In this script:
- An HTTP GET request is made using Axios with the
responseType: 'stream'option to treat the response as a stream. - A write stream (writer) is created using Node.js
fs.createWriteStream(), responsible for writing the downloaded content to a local file named "file.pdf". - The data from the Axios response stream is piped to the write stream, effectively saving the downloaded file locally.
- A promise is employed to handle the completion of the download process. The resolve function is triggered when the write stream emits a
"finish"event, signifying the completion of the download. The reject function handles errors during the download process.
If you already know the source URL, use Axios as in the script. If not, rely on Puppeteer to navigate the page, locate the element with the source URL in its
hrefattribute, and dynamically retrieve the URL before initiating the download with Axios.
Handling File Download Dialogs
In certain instances, when you click the download button, a dialog box may appear with messages like "This type of file can harm your computer. Do you want to keep file.pdf?" or "Are you sure you want to download?".
These dialog boxes often provide options such as "Accept", "Decline" or simply "OK". Handling these pop-ups is crucial, as the download might not proceed if they are left unattended.
Puppeteer allows you to handle dialog boxes as events using the page.on("dialog") method. Specifically, for the "dialog" event, you have three options:
- accepting the dialog box with
dialog.accept(), - declining with
dialog.dismiss(), or - retrieving the message from the dialog box using
dialog.message().
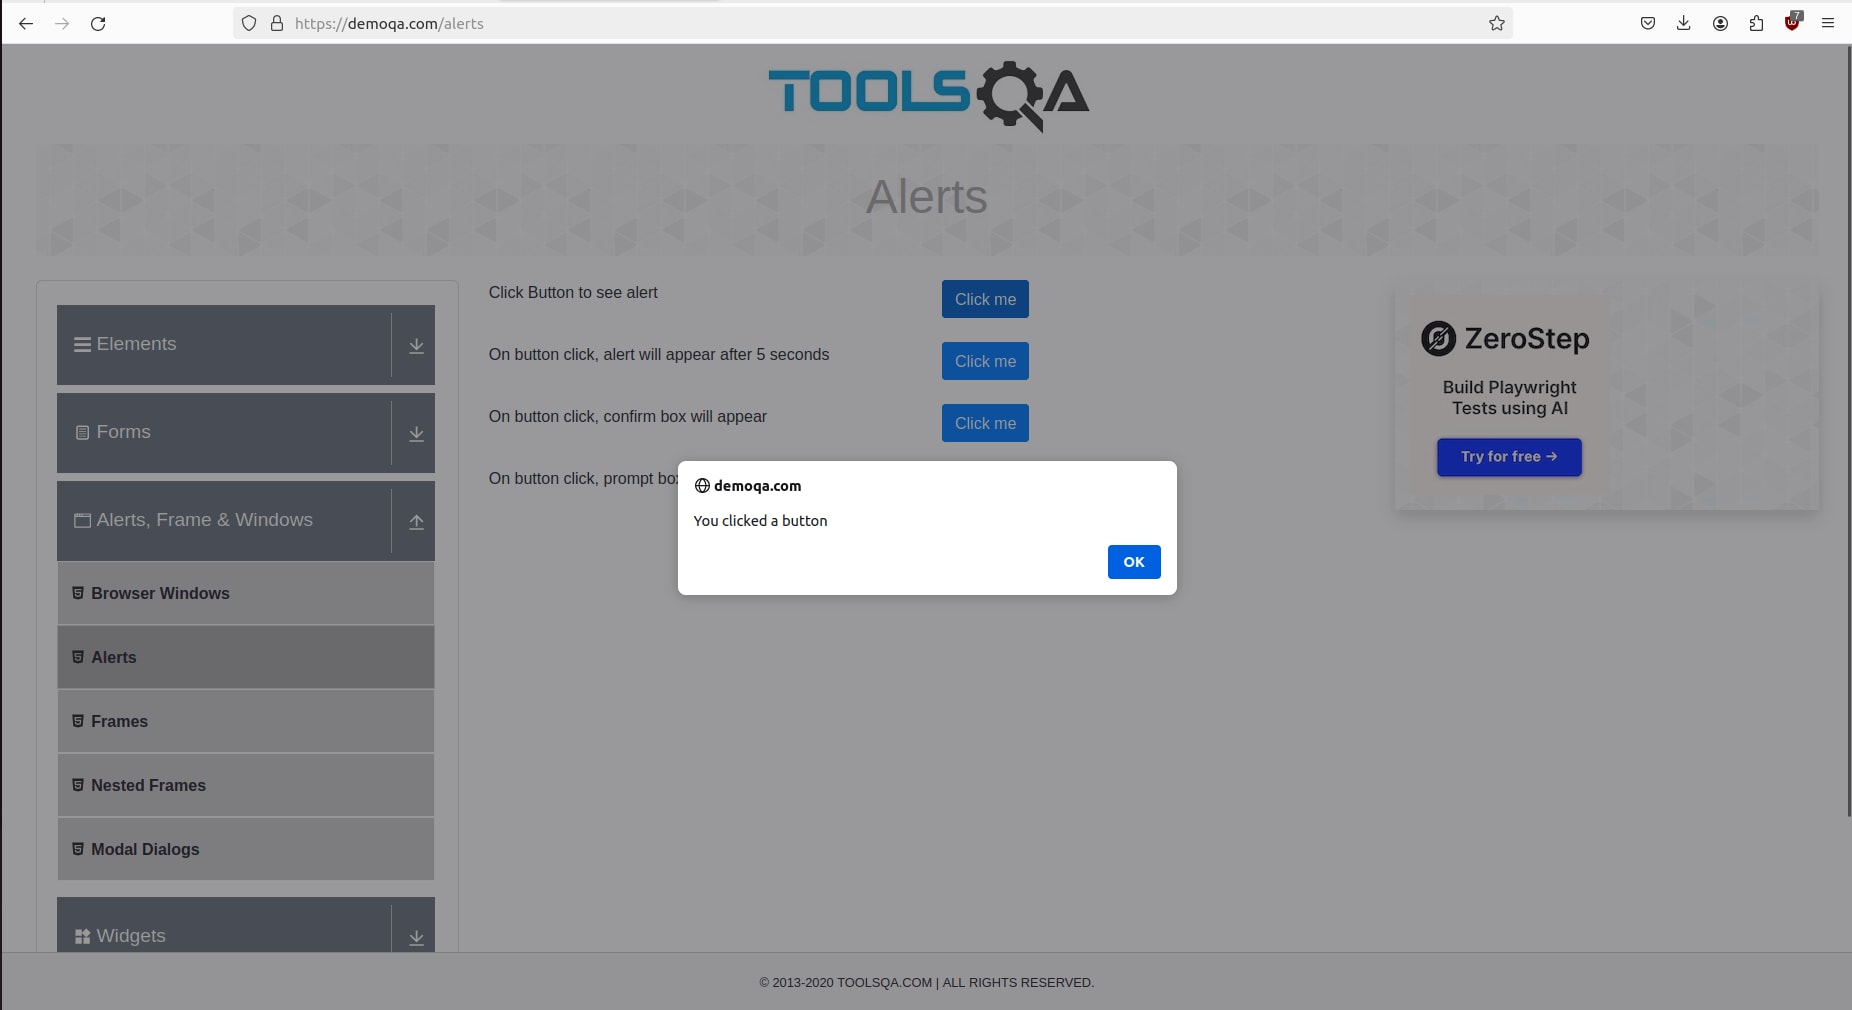
For demonstration purposes, let's consider clicking the button "Click me" with the CSS selector "#alertButton", on this website. Subsequently, we will handle the dialog box that appears.
Here's the code:
const puppeteer = require('puppeteer');

(async () => {
  const browser = await puppeteer.launch({headless: false});
  const page = await browser.newPage();

  const url = 'https://demoqa.com/alerts';
  await page.goto(url);

  page.on('dialog', async (dialog) => {
    await page.waitForTimeout(2000); // Not Necessary

    console.log(`Dialog Message: ${dialog.message()}`);
    await dialog.accept();
  });

  await page.click("#alertButton");
  await page.waitForTimeout(2000); // Not Necessary
  await browser.close();
})();

// Dialog Message: You clicked a button
When you run this script, you will notice that the click event triggers the appearance of the dialog box. After two seconds, it will be automatically accepted with the dialog.accept() method, and the message will be logged. The page.waitForTimeout(2000) is included to allow you to observe the handling of the dialog box; in production code, you can omit this delay.
Handling Authentication for Secure Downloads
Certain websites may necessitate authentication procedures before granting access to the page containing the download button. This could involve:
- Requiring Sign-Up or Login with an email for downloading.
- Demanding Payment for accessing Premium content.
- Implementing a Captcha to prevent automated bots from downloading.
In such scenarios, you'll need an additional script to handle these authentication challenges before your download script can function effectively. It typically involves tasks like form automation, captcha solving, and strategies to evade bot detection. If you're new to these aspects, consider reading the following articles for a deeper understanding:
- "NodeJS Puppeteer: Logging Into Websites"
- "Bypass CAPTCHAs With Puppeteer"
- "Puppeteer-Extra-Stealth Guide - Bypass Anti-Bots With Ease"
- "Puppeteer Guide: Managing Cookies"
Error Handling for Download Failures
While creating Puppeteer scripts for file downloads is a straightforward task, paying attention to small details is crucial to avoid issues such as incomplete or corrupted downloads. Here are some common challenges and how to address them:
-
Incomplete Downloads: Handle interruptions or premature script termination by implementing error handling and logging. Listen to the
Browser.downloadProgressevent to detect completed or canceled downloads.client.on('Browser.downloadProgress', event => {
if (event.state === 'completed') {
// If the download is complete
} else if (event.state === 'canceled') {
// If the download is canceled
}
}); -
File Format Mismatch: Ensure downloaded files match the expected formats. Check the
Content-Typeheader of the "response" object to identify the content type.page.on('response', (response) => {
const contentType = response.headers()['content-type'];
console.log(contentType);
});Common content types include:
- application/pdf
- application/xml
- audio/ogg
- audio/mpeg
- image/png
- image/jpeg (.jpg, .jpeg, .jfif, .pjpeg, .pjp)
- text/css
- text/html
- text/php
- text/xml
- video/mp4
-
Network Latency: Address delays in network requests by adjusting timeout settings using
page.setDefaultTimeout()orpage.setDefaultNavigationTimeout(). -
File Size and Memory: Manage memory efficiently when downloading large files by implementing streaming or chunked download techniques. Utilize Axios for chunked downloads:
const response = await axios({
  url: 'https://example.com/file.pdf',
  method: 'GET',
  responseType: 'stream',
});
If facing Puppeteer-related issues, check their official Troubleshoot page and explore the Issues section of the official GitHub Repository for possible solutions.
Conclusion
In this article, we explored methods for downloading files, including emulating clicks on download buttons and obtaining files from their source URLs. We delved into handling diverse file types, monitoring download progress, and ensuring the completeness of downloaded files.
Check the official Puppeteer documentation for more information.
More Puppeteer Web Scraping Guides
If you would like to learn more about Web Scraping with Puppeteer, then be sure to check out The Puppeteer Web Scraping Playbook.
For situations involving websites with CAPTCHAs, anti-bot detection techniques, or requirements for staying logged in during script execution, consider referring to the following articles: